Ksama Arora
Using Azure Automated Machine Learning - Lab 4
Open Azure ML Studio -> Click Automated ML
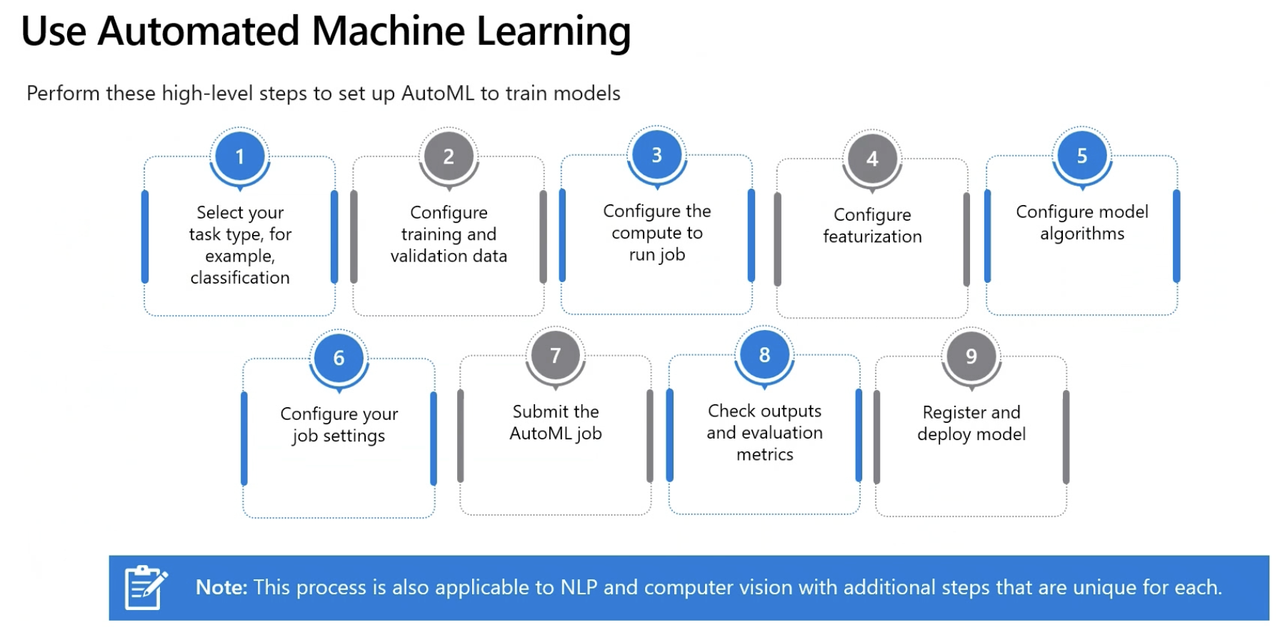
Step 1: Create a New Automated ML Job
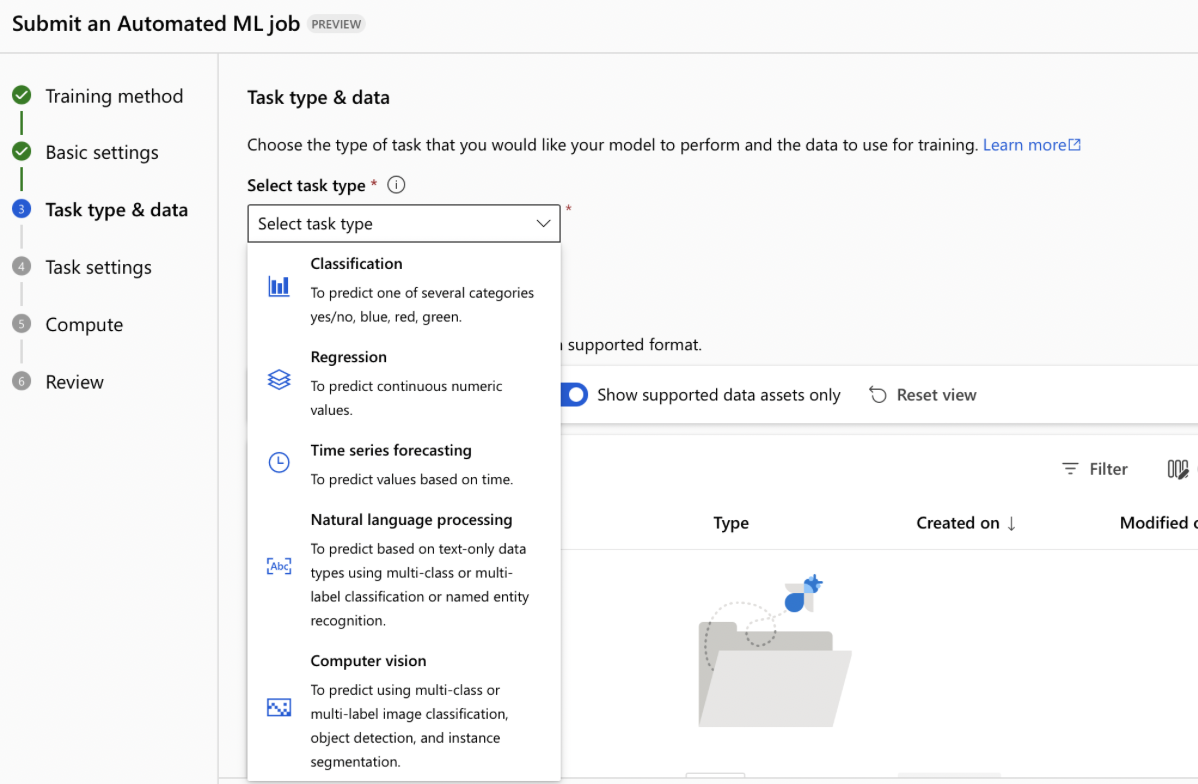
- Select Task Type: Five categories of algorithm available in Azure Automated ML
- Regression predict numerical values.
- Classification predict numerical values.
- Time-series predict future numerical values based on time-series data e.g. predicting future sales.
- Natural Language Processing extract insights from text
- Computer Vision classify images or detect objects in images
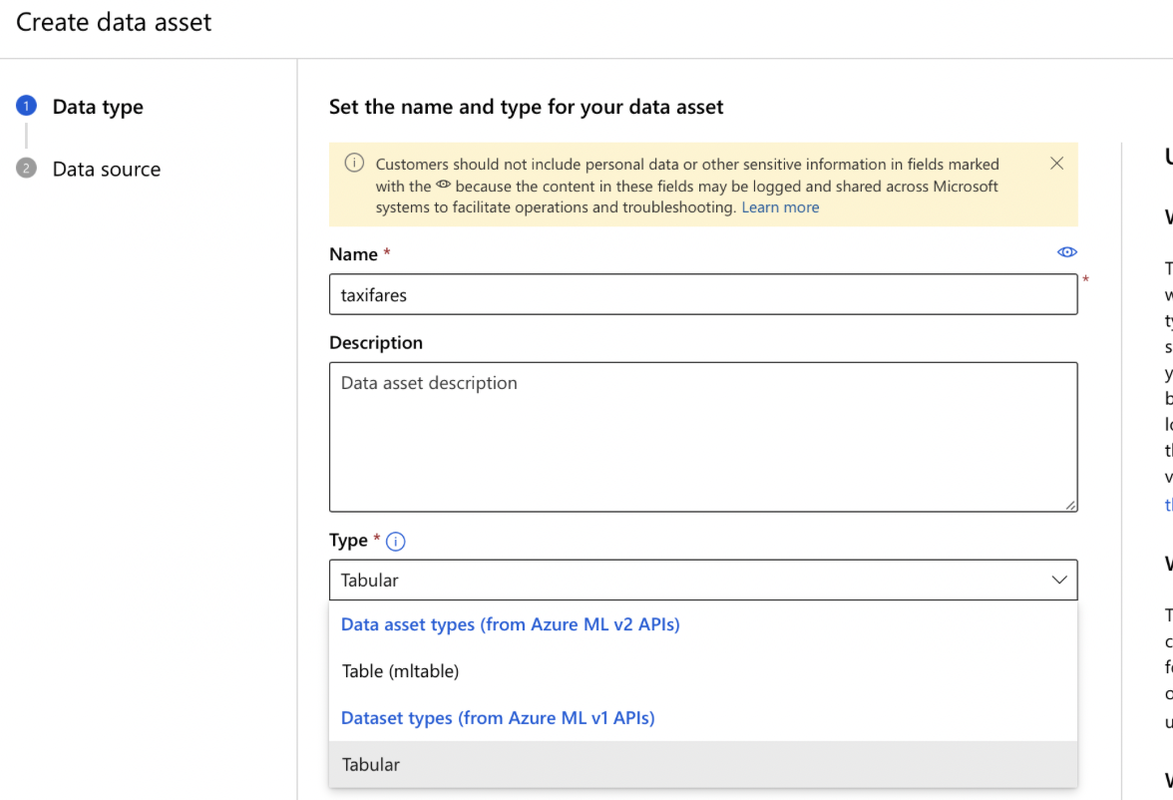
- Create a Data Asset:
- Data type:
- Name: Enter a name for your data asset.
- Select Type: Tabular/Table(mltable)
- Data type:
- Data source: Azure Storage/Local files/SQL databases/Web files/Azure Open Datasets
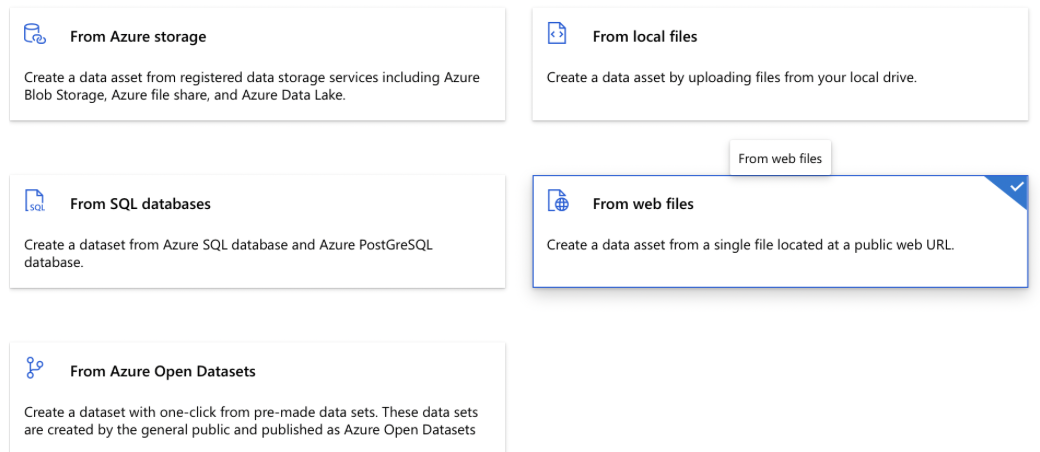
- Enter web url
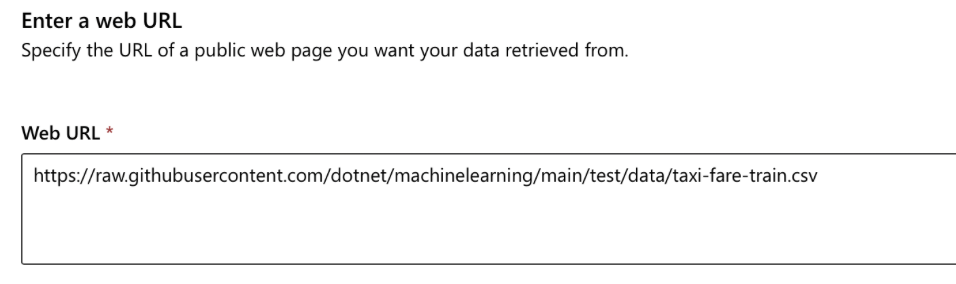
- Settings -> Schema -> Review+Create

- Select the Dataset and click next
- Task Settings Configuration
- Select Target Column: Choose the column you want to predict (your target variable).
- Set Experiment Timeout: Set the timeout for the experiment to 15 minutes.
- Enable Early Termination: Check the “Enable early termination” checkbox to stop the experiment early if it is not performing well.
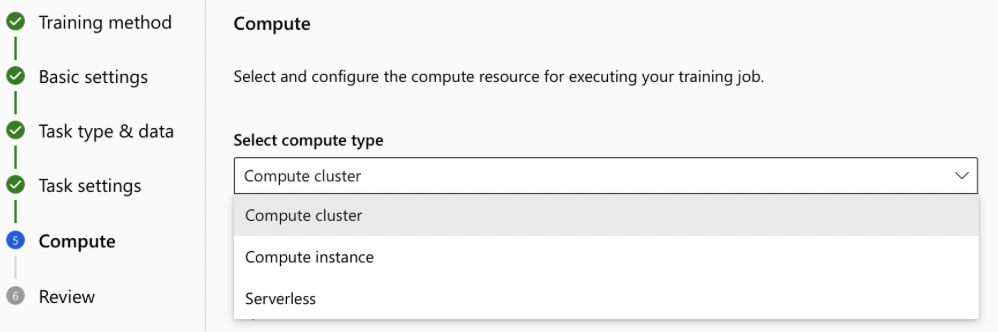
- Select Compute Type: Compute cluster/Compute Instance/Serverless
IMP Note:
To apply one-hot encoding (encoding transformation) to categorical features in a dataset while using automated ML, enable featurization. Impute missing values is a technique that will be tried when activating featurization but cannot be enabled on its own. Feature scaling and normalisation is enabled by default.
Submit the Job: Click “Submit”. The job will run for approximately 30 minutes.
Note:* Job Status can be following:
- Queued: The job is waiting for compute to become available.
- Preparing: The compute cluster is resizing or the environment is being installed on the compute target.
- Running: The training script is being executed.
- Finalizing: The training script ran and the job is being updated with all final information.
- Completed: The job successfully completed and is terminated.
- Failed: The job failed and is terminated.
Step 2: Evaluate & Compare Model*
- View Models + Child Jobs: Once the job is complete, navigate to the “Models + Child jobs” section.
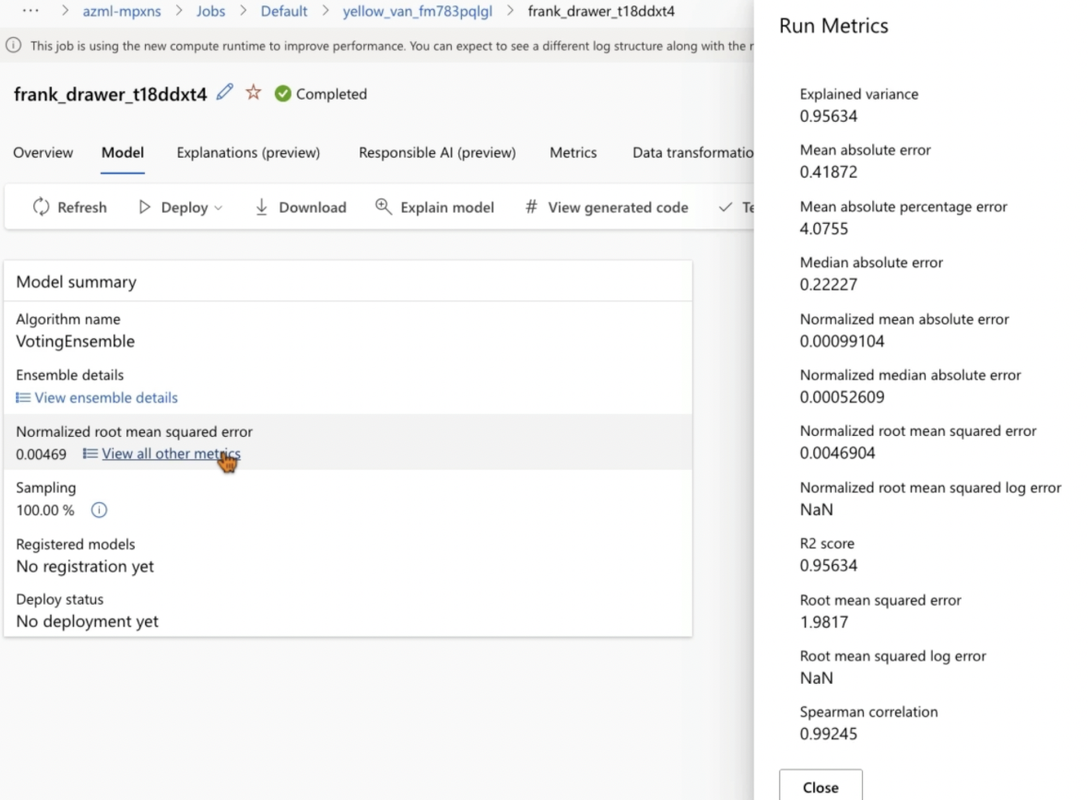
- Best Algorithm: You should see that the best algorithm selected by Azure is “Voting Ensemble”.
- Data guardrails: This tab shows whether training data has any issue
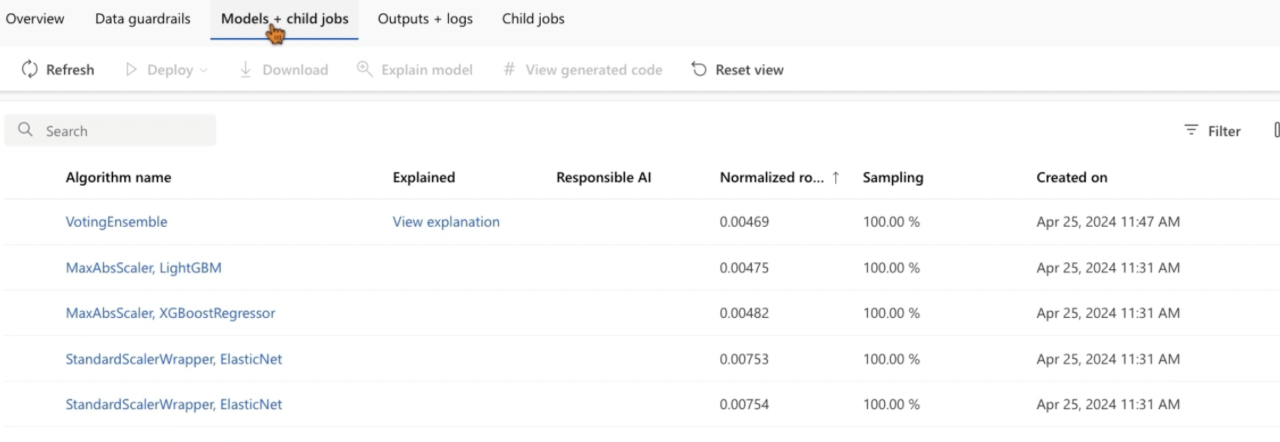
- Normalized Root Mean Squared Error: Lower the value, the better the model
Step 3: Deploy the Model
- Deploy: Real-time endpoint/Batch endpoint/Web service
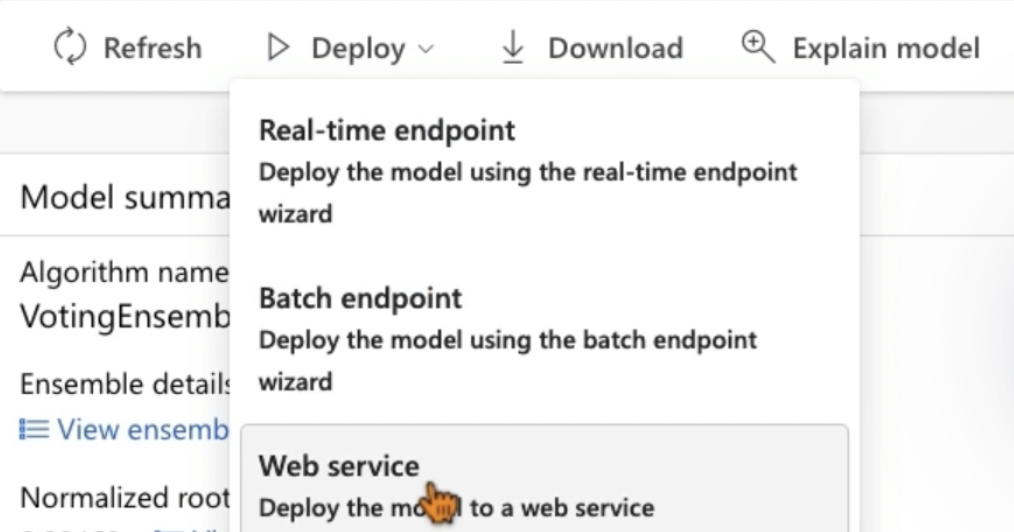
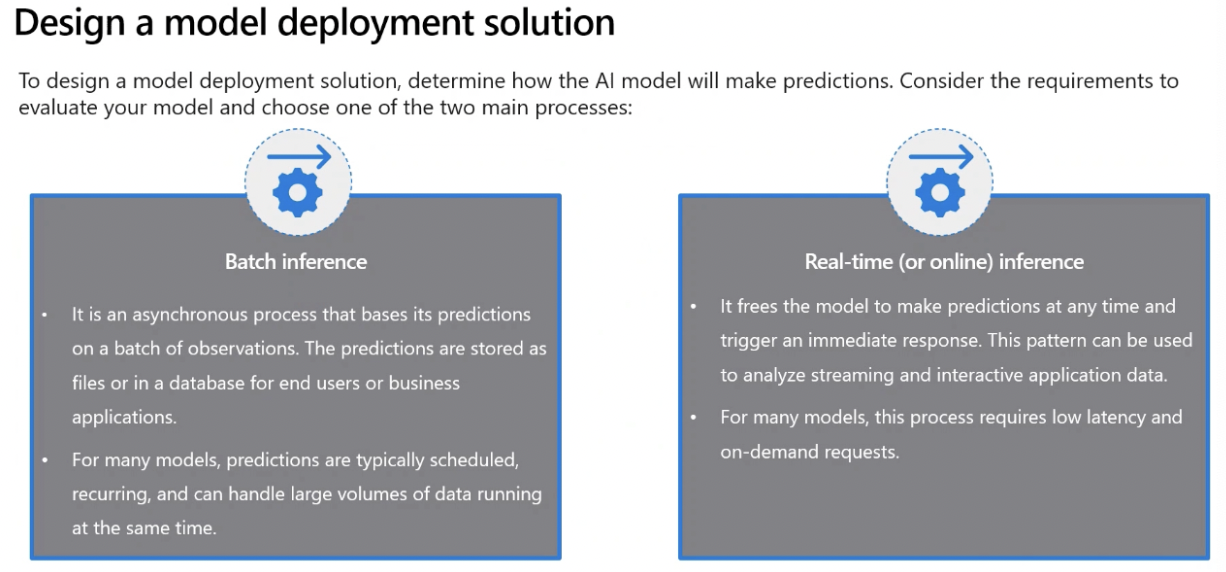
Real-Time Predictions Real-time predictions provide instant recommendations based on customer actions, requiring continuous compute resources. Azure Container Instances (ACI) or Azure Kubernetes Service (AKS) are ideal for this, offering lightweight and cost-effective infrastructure solutions that ensure your model is always available.
Batch Predictions Batch predictions are scheduled and less frequent, such as weekly sales forecasts. This approach utilizes compute clusters to process data in parallel, making it efficient for handling large datasets periodically.
- Click “Deploy”.
- Name: Enter a name for the deployment.
- Compute Type: AksCompute/Azure Container Instance
- Advanced Settings:
- CPU Reserve Capacity: Set to 1.
- Memory Reserve Capacity: Set to 1.
- Click “Deploy”.
Step 4: Test the Deployed Model
- Find Deployment Endpoint: After deployment, the endpoint can be found under “Endpoints”.
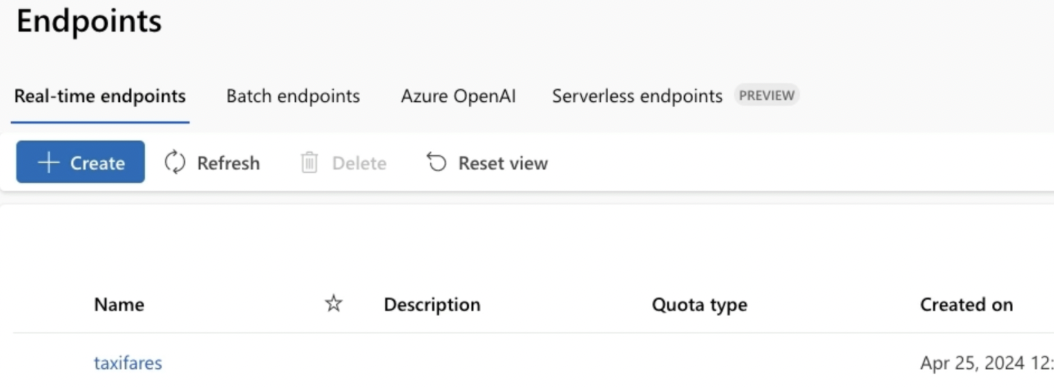
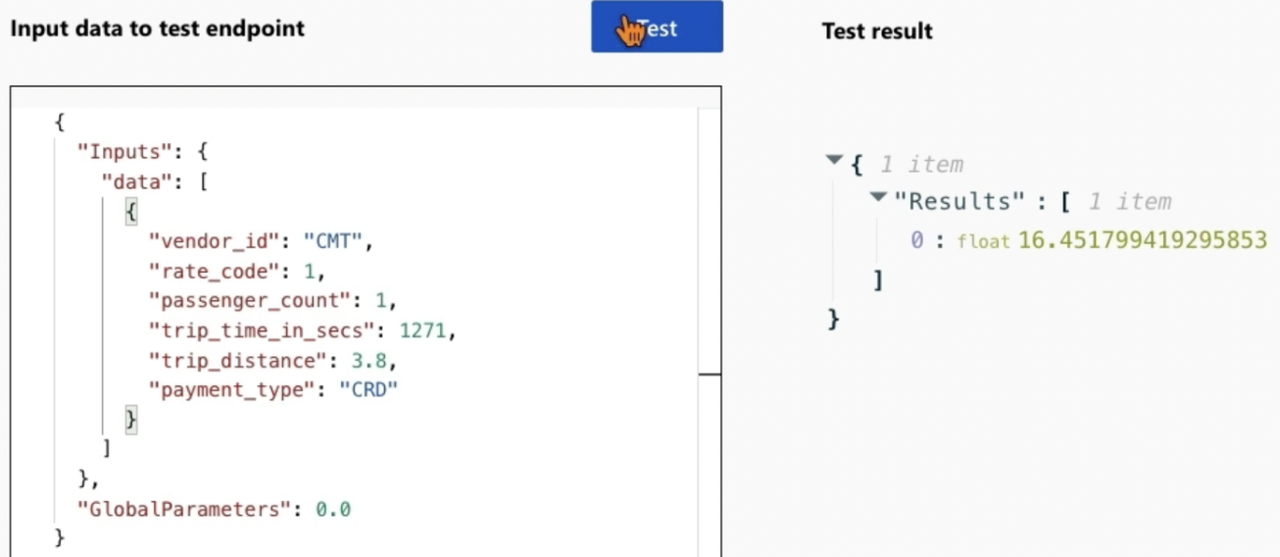
- Test Tab: Select the endpoint and navigate to the “Test” tab.
- Enter Test Data: Enter values to test the model’s predictions.
- Check Prediction: For the given data, check how close the predicted value is to 17.5.
Step 5: Evaluate Model
IMP NOTE:
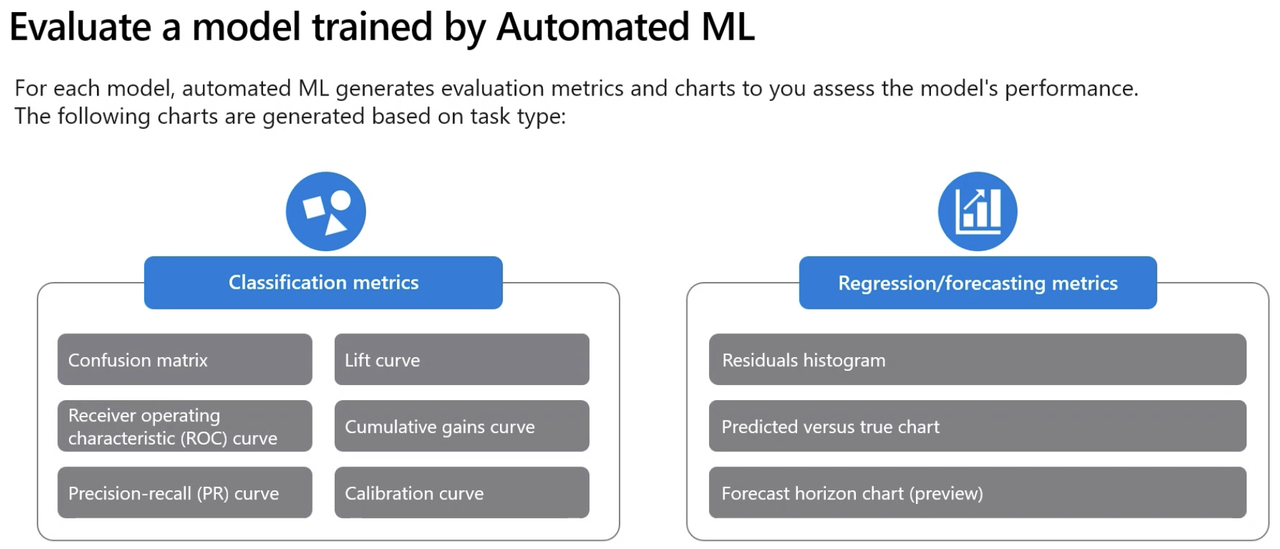
- Regression Metrics: Mean Absolute Error (MAE), Root Mean Squared Error (RMSE), Relative Squared Error (RSE), Relative Absolute Error (RAE) and R Square/Coefficient of Determination (R^2).
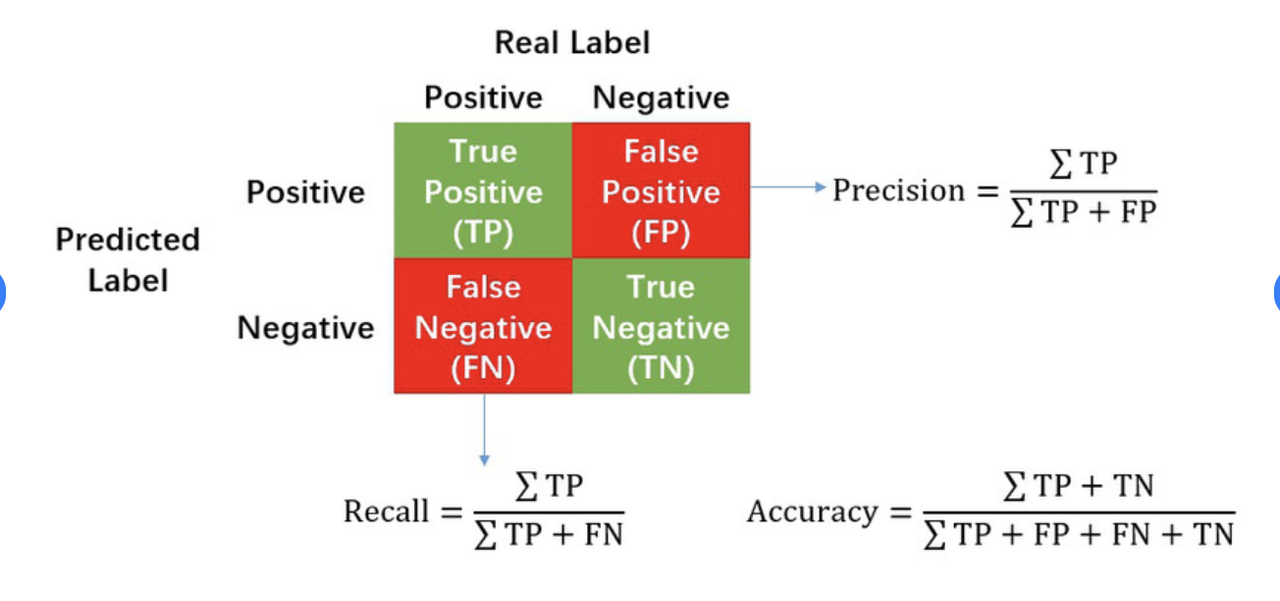
- Classification Metrics: Accuracy, Precision, Recall, F1 Score, AUC.
IMP NOTE
- Precision metric will result in a model that minimises FPR (false positive rate)
- Recall metric will result in a model that minimises FNR (false negative rate)
- Accuracy metric will result in a model with highest accuracy
- AUC metric will result in a model with highest area under receiver operating characteristic curve
- To explore a model, can generate explanations for each model that has been trained. Can specify explanations for best performing mode. If however, you’re interested in the interpretability of another model, can select the model in overview and select Explain model.